6 Easy steps to install home security camera
South Pointe Insurance Agency
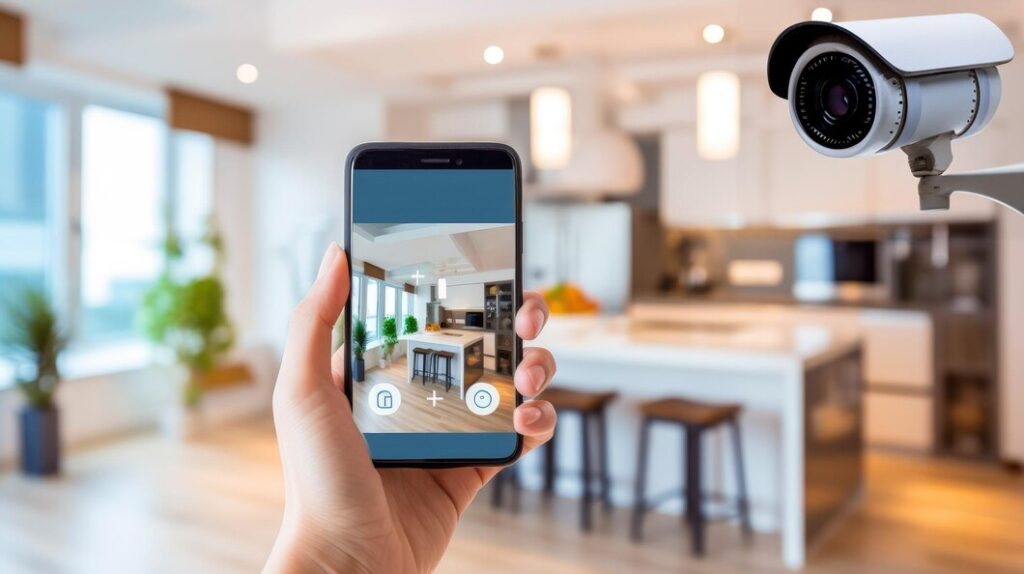
In home security, camera installation plays a crucial role. Learning how to install security camera wiring can be complicated. However, most security camera systems include detailed instructions that will help you get your setup properly connected and up and running.
This guide will help you learn the basics of how to install a security camera and plan your security camera setup.
1.Create an Installation Plan
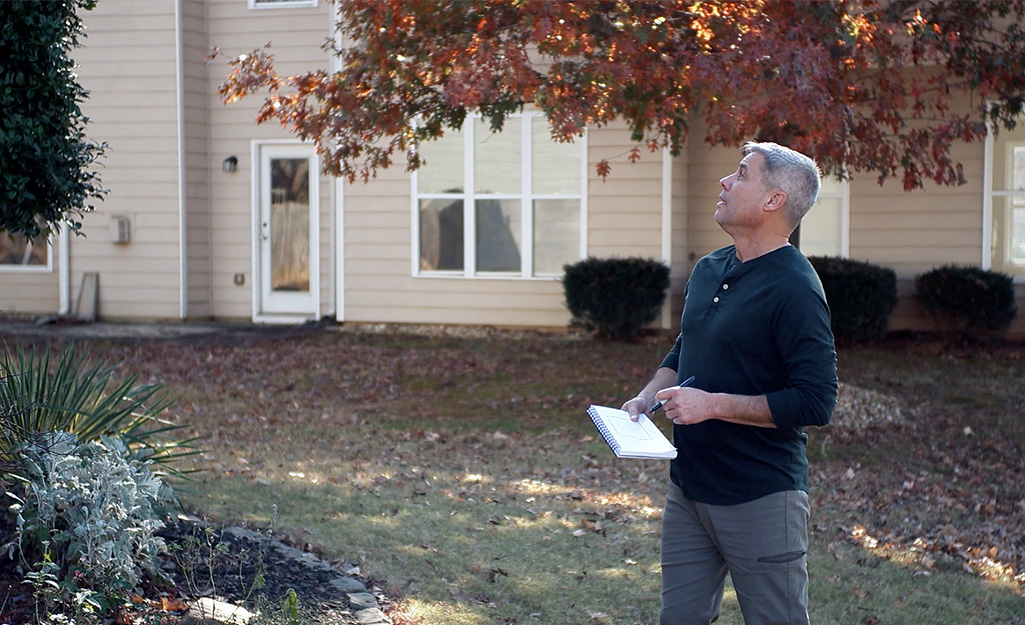
Plan your security camera setup before buying. Sketch your home layout, mark priority areas, and consider camera angles. Check for obstructions and clear lines of sight. Install outdoor cameras above 10 feet for better weather protection. For wired systems, plan cable routing and consider hiring a professional if needed.
2. Purchase Home Security Cameras
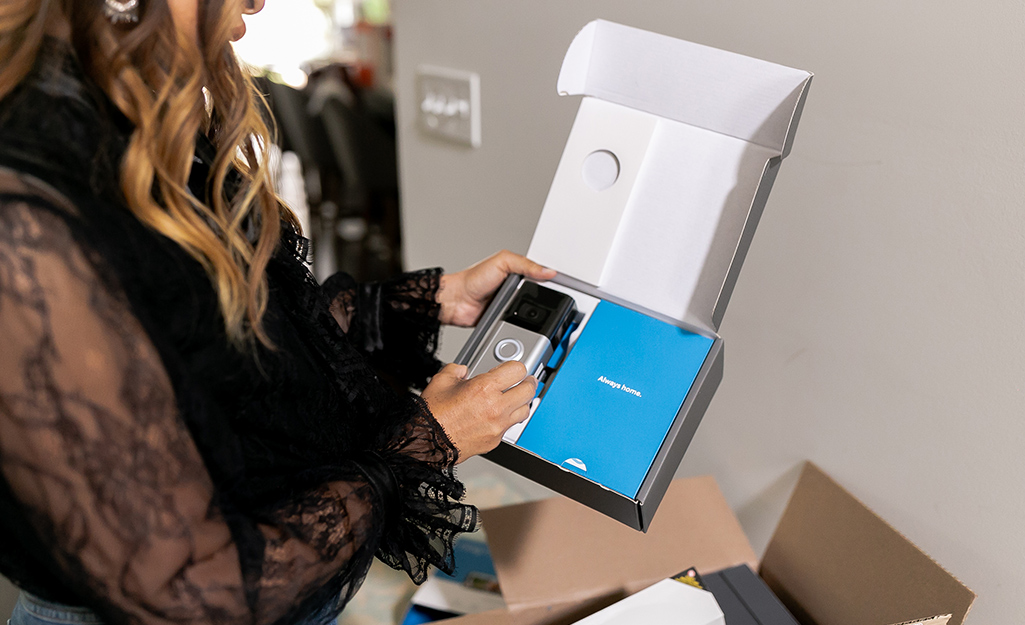
When choosing a home security camera system, consider wired vs wireless options, desired features, and bundled systems. Features like motion-sensor and remote viewing can be valuable. Purchase extra cables or weatherproof shields if needed. Finally, choose a recording device and test the system before installation.
3 How to Mount a Wireless Security Camera
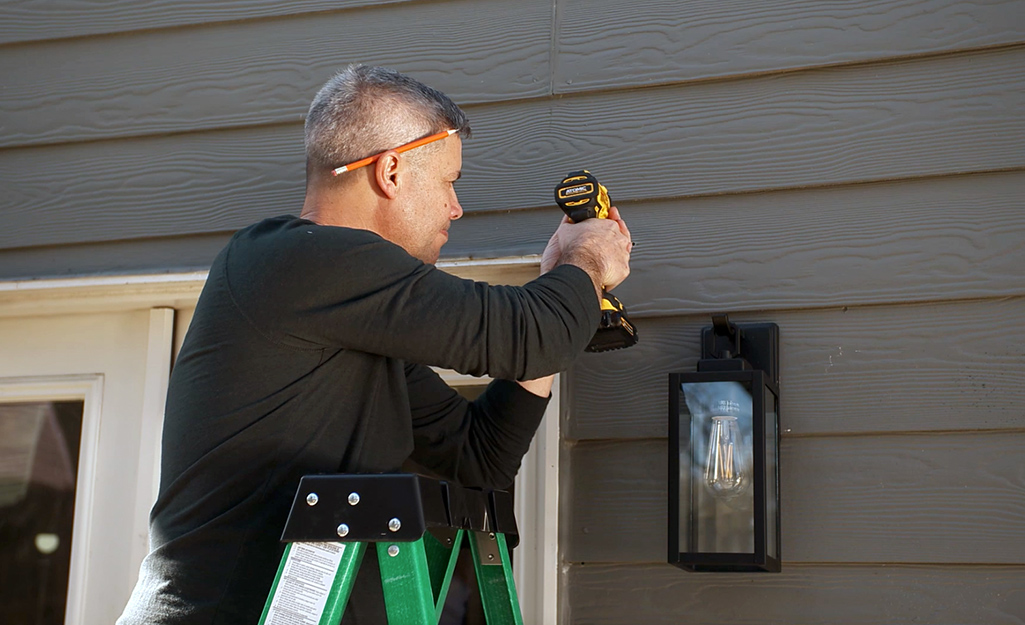
As you’re installing a security camera, find a solid surface for the mount. Camera mounts typically come with screws to attach it. Most camera kits come with a drill template to help you place the screws correctly.
Using the mounting template as a guide, drill pilot holes where indicated for the mounting screws. Install any included mounting pins by lightly tapping them with a hammer. Screw the camera mount securely into the wall.
4 How to Mount a Wired Security Camera
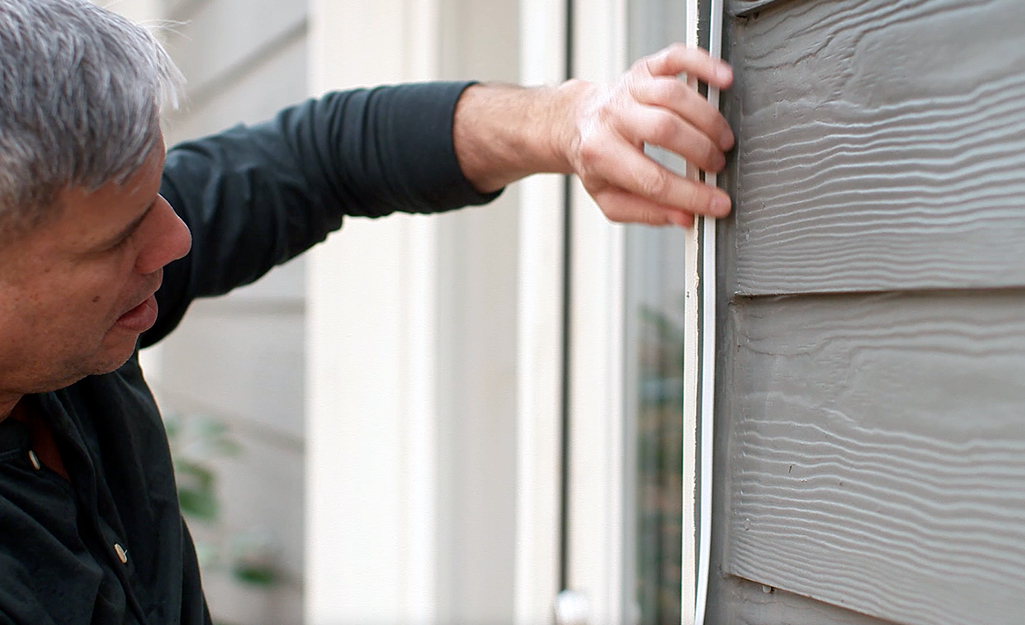
When installing a security camera that’s part of a wired setup, you’ll need to attach the camera mounts and run the cables to the DVR box. Using the mounting template as a guide, drill pilot holes for the mounting screws. Using a spade bit, drill a larger hole in the center of the guide. The hole is where the cables will exit. Following your map, run the security camera cables through the camera mount point and behind the wall until you reach the point where the DVR box will be mounted.
5 Install the Cameras
As you’re installing a security camera, find a solid surface for the mount. Camera mounts typically come with screws to attach it. Most camera kits come with a drill template to help you place the screws correctly.
Using the mounting template as a guide, drill pilot holes where indicated for the mounting screws. Install any included mounting pins by lightly tapping them with a hammer. Screw the camera mount securely into the wall.
6 Connect Security Cameras to the Network
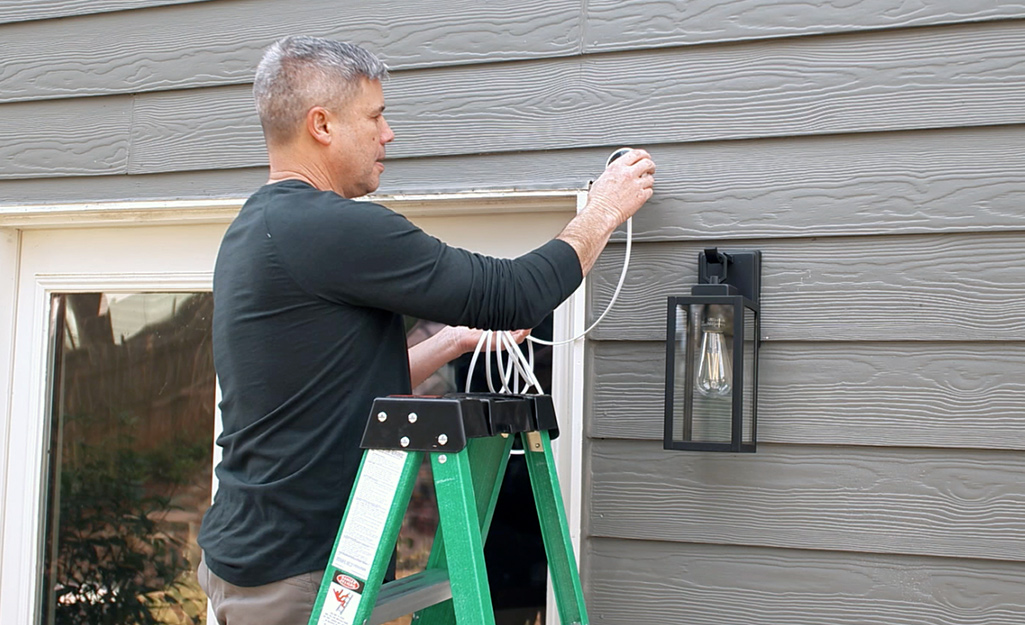
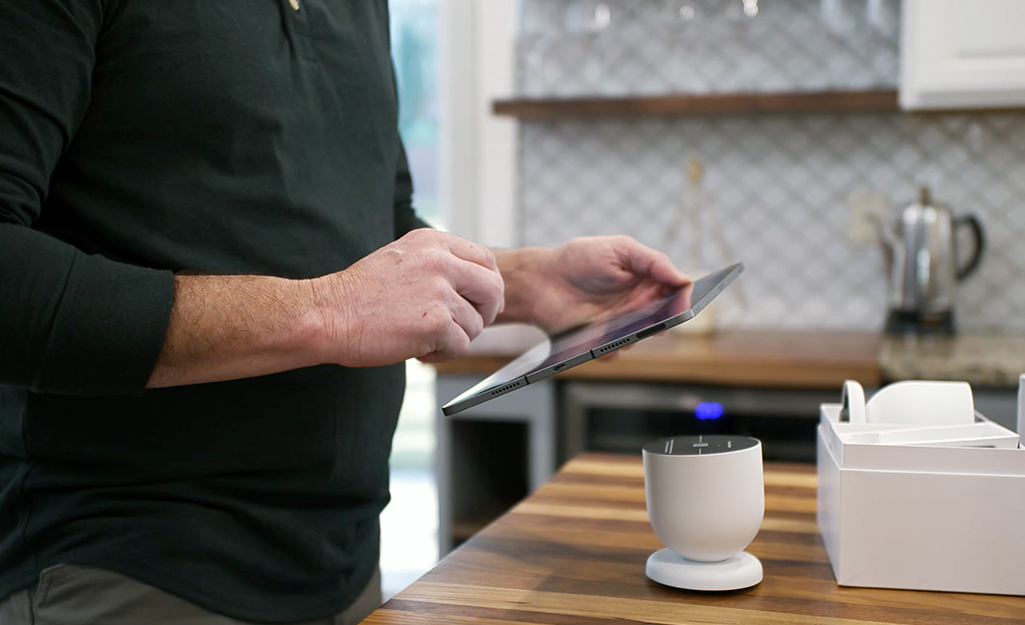
When installing a security camera that’s part of a wired setup, you’ll need to attach the camera mounts and run the cables to the DVR box. Using the mounting template as a guide, drill pilot holes for the mounting screws. Using a spade bit, drill a larger hole in the center of the guide. The hole is where the cables will exit. Following your map, run the security camera cables through the camera mount point and behind the wall until you reach the point where the DVR box will be mounted.
Final Check list.
1. Power Up:
- Wireless: Install batteries if required. Otherwise, proceed to step 4.
- Wired: Connect the camera to the cable leading from the wall and a power source (if needed).
2. Mount and Secure:
- Secure the camera mount onto the chosen location.
- Attach the camera to the mount and adjust its viewing angle.
- Repeat the process for each camera location.
3. Wired Connections (if applicable):
- Connect the camera cable to the designated input port on the DVR box.
- Note the corresponding port number for each camera.
- Connect the DVR’s output port to the monitor’s input.
- Ensure all components are powered and cables are securely plugged in.
4. Software Setup (for wireless systems only):
- Install the software and follow the setup instructions.
- Record the camera’s IP address for remote viewing.
Planning is key! Before installation, decide on camera locations and desired features to choose the best system for your needs. Remember, installation is primarily about mounting the cameras and, for wired systems, managing the cables.
Here are some related products you can consider for your project.
Tools needed for project.
- Drill/Driver: for Drill Driver on Amazon
- Drill Bits: for Drill Bits on Amazon
- Level on Amazon
- Screwdrivers: Screwdrivers on Amazon
- Tape Measure: Tape Measure on Amazon
- Stud Finder (Optional): for Stud Finder on Amazon
- Socket Wrench Set (Optional): for Socket Wrench Set on Amazon
- Caulking Gun (Optional): for Caulking Gun on Amazon
- Silicone Caulk (Optional): for Silicone Caulk on Amazon
- Shop Wired & Wireless Security Cameras
- Shop Security Cameras with Top Features
- Shop Weatherproof Security Cameras
- Shop Security Camera Recording Devices
- Shop Solar Powered Security Cameras Wireless Outdoor
Disclosure: As an Amazon Associate, I earn from qualifying purchases. This means if you click a link on my site and make a purchase on Amazon, I may receive a commission at no additional cost to you.

Auto Insurance 101
Auto Insurance Essential

Auto Insurance Tips
6 California Auto Insurance Tips to Keep You Cruising Smoothly

Save on Auto Insurance
6 Tips to Save on Auto Insurance


