Barbecue on a Homemade Deck
South Pointe Insurance Agency

Preparing for a Fantastic Autumn Barbecue on a Homemade Deck
As summer gradually fades away, the cozy charm of fall draws us in to enjoy cooler temps in our outdoor spaces again. And what better way to do that than by having a BBQ in our very own backyard? Preparing an outdoor space for a memorable gathering with family and friends becomes even more inviting when you have a great foundation, like a DIY platform deck. Today I’m sharing the steps I took to get our backyard ready for the perfect fall BBQ.
Planning and Designing a Deck
Before diving into the construction, I took some time to plan and design our platform deck, considering the size of our backyard, the condition of our concrete and the available space for the deck. Next, we decided on materials. We decided on a pressure-treated two-by-four substructure, with Trex Enhance Naturals composite decking in Rocky Harbor Gray, because of its fuss-free long lasting beauty. We also used their digital deck designer to come up with a plan.

Gather the Necessary Tools and Materials
- Ryobi Cordless Battery Leaf Blower
- Ryobi Edger
- Tape Measure
- Circular Saw
- Drill
- Level
- Safety Gear
- Pressure-Treated Two-By-Four’s
- Concrete Deck Blocks
- Deck Screws
- Tamper Tool
- Gravel
- Trex Enhance Naturals
- PVC Board (Or Plastic Shims)
- Trex Hideaway Fasteners
- Circular Saw
- Speed Square
- Tie Plates
- Galvanized Fence Rail Bracket
- Connector Screw
- Galvanized Medium L Angle
- Galvanized Angle
Preparing the Ground
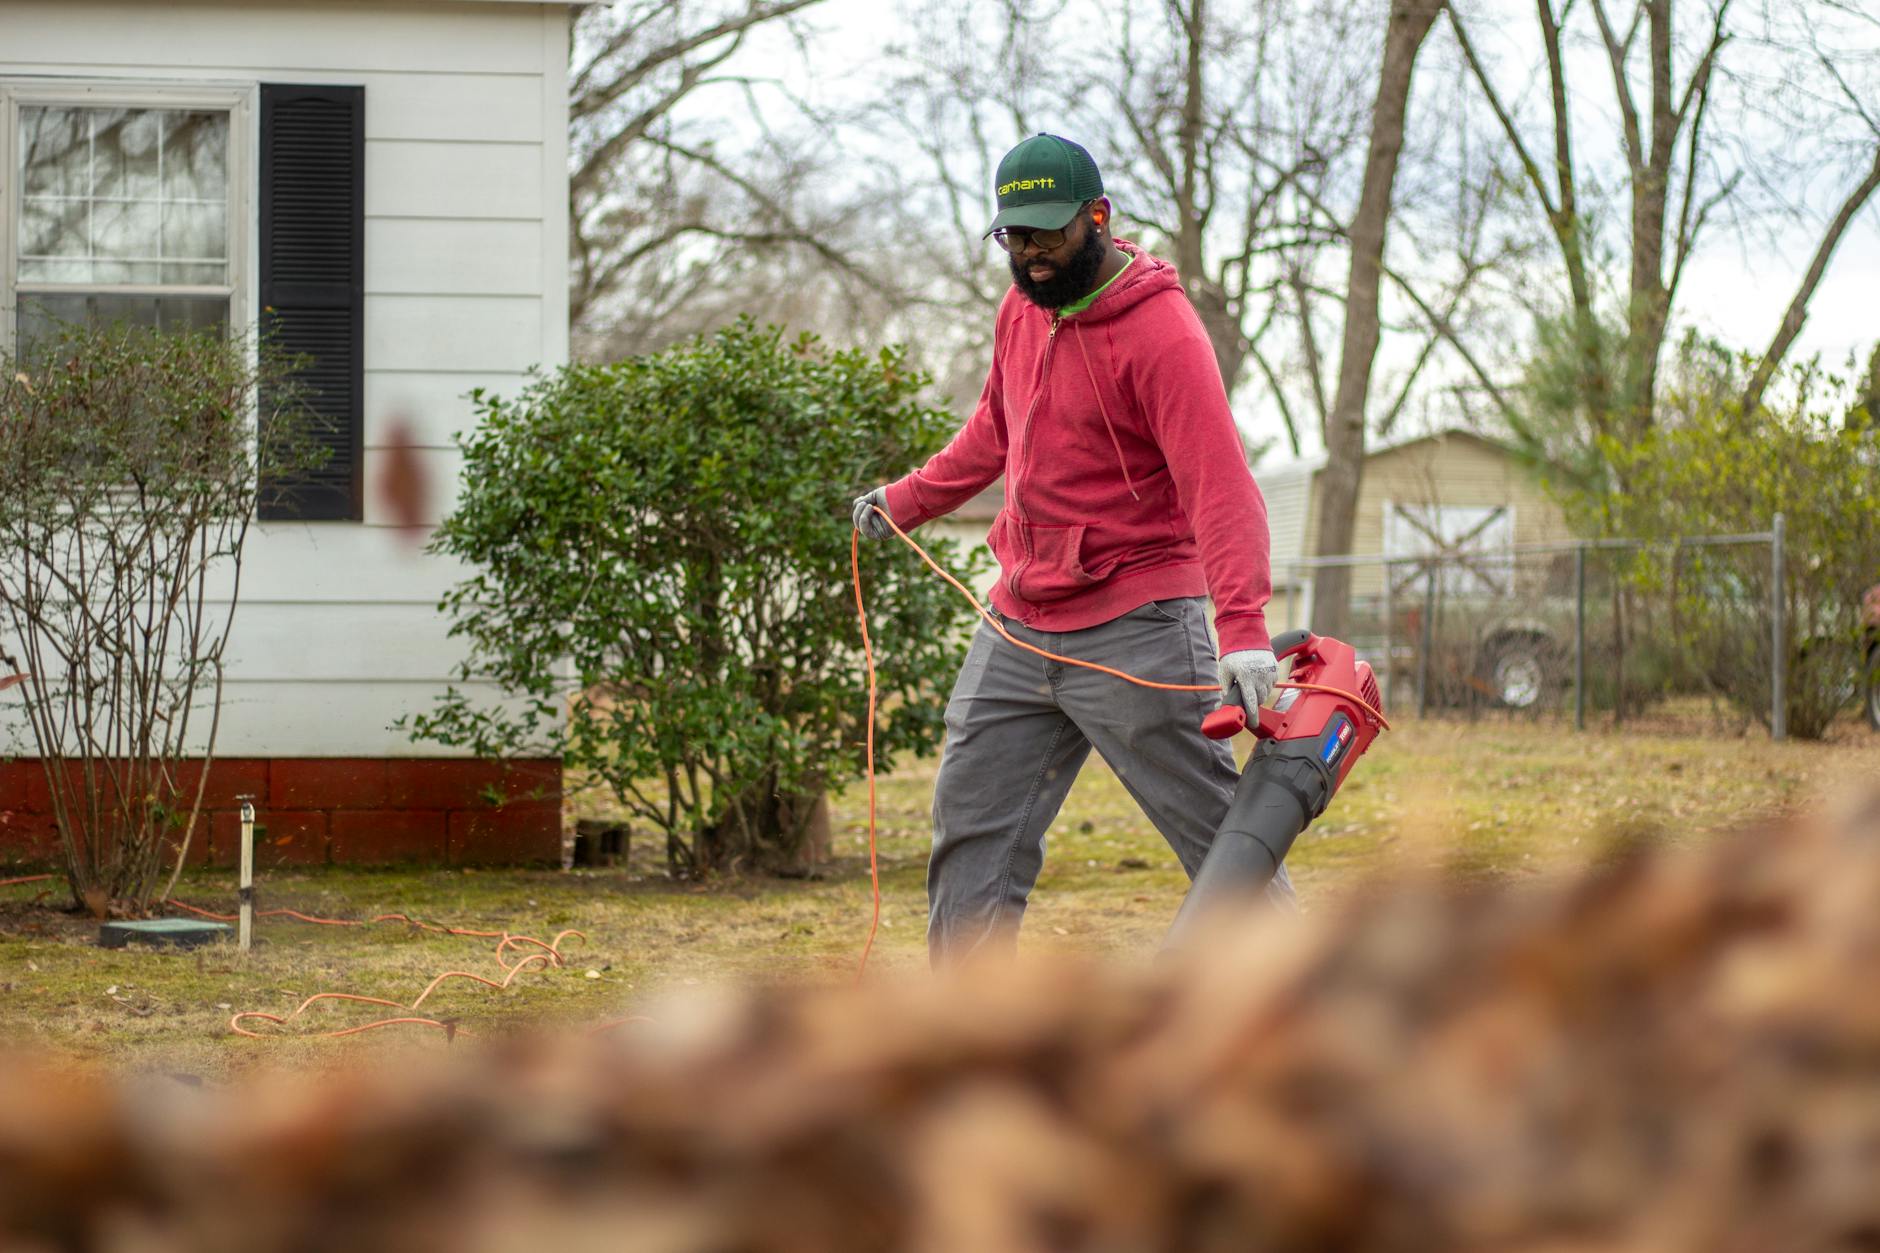
We use a leaf blower and and edger to clear the area of dirt, yard debris and weeds. We removed any rocks, roots or plants that needed to be transplanted and leveled the ground as much as possible. This helped to provide a stable foundation for our deck to ensure it lasts for years to come.
Building the Platform Deck Over a Concrete Slab
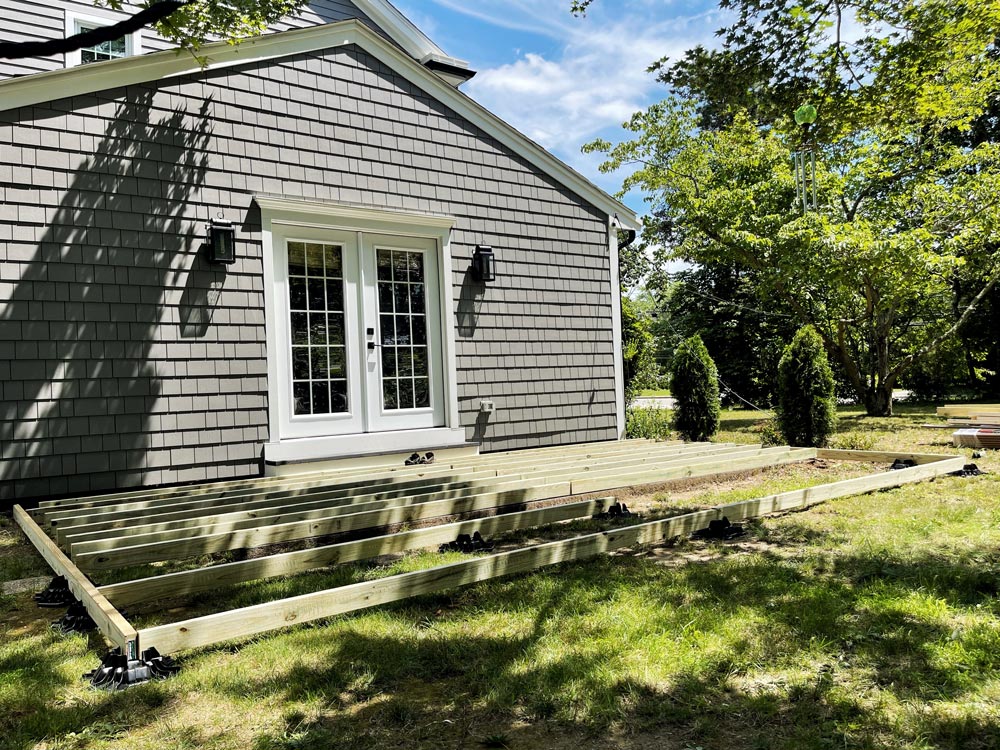
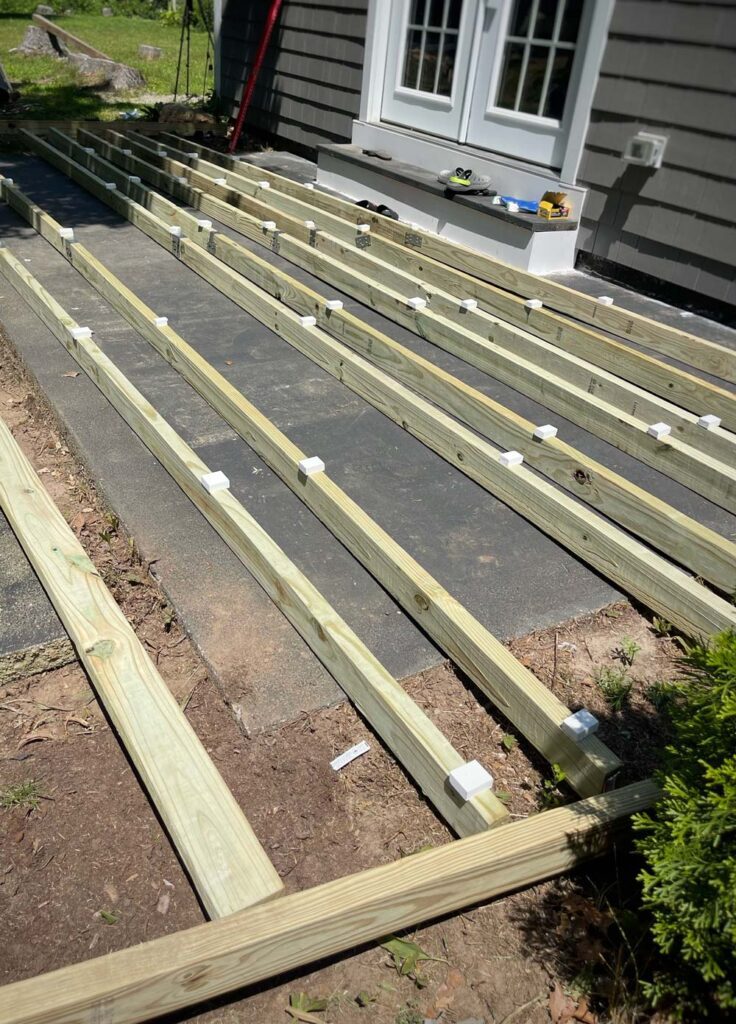
We followed our design and began building the deck frame. We created a sturdy substructure using pressure-treated two-by-four’s as sleepers to rest on the concrete slab, to ensure that the height of the deck works well with the height of the step from the house. We used galvanized corner braces to join the two-by-four’s at the corners for even more support. Then we measured corner to corner to ensure that the frame was square. We then raised it up on concrete deck blocks to lift the frame off of the ground. We then joined the 2x4x10 (sleepers) with galvanized tie plates and screws to make up for the length of the deck. We placed the sleepers on “spacers” which were actually pieces of PVC 1-by-2’s cut into blocks. These are used to help avoid rot, by keeping the sleepers off of the concrete and it also helps to facilitate better drainage. After completing the frame, we securely attached the sleepers to the rim joists using galvanized fence rail brackets, spacing them 12 inches on center. While Trex recommended a 16 inch spacing for the sleepers, we took into consideration various sources that suggested a 12 inch spacing for added stability when using composite decking, so we opted for this cautious approach.
Lastly, it was time to install the Trex.
For a more polished appearance, I decided to create a picture frame trim by mitering the corners. To do this, I cut the ends of the picture frame boards at a 45-degree angle, ensuring they fit together seamlessly at the corners. I placed the first mitered board down on the edge of the deck and the other along the house and then started placing the inner deck boards up against the first frame board on one corner of the deck. Using Trex hideaway fasteners, we secured them to each sleeper, ensuring a seamless and hidden installation. To ensure even more support, we also incorporated blocking between the joists.
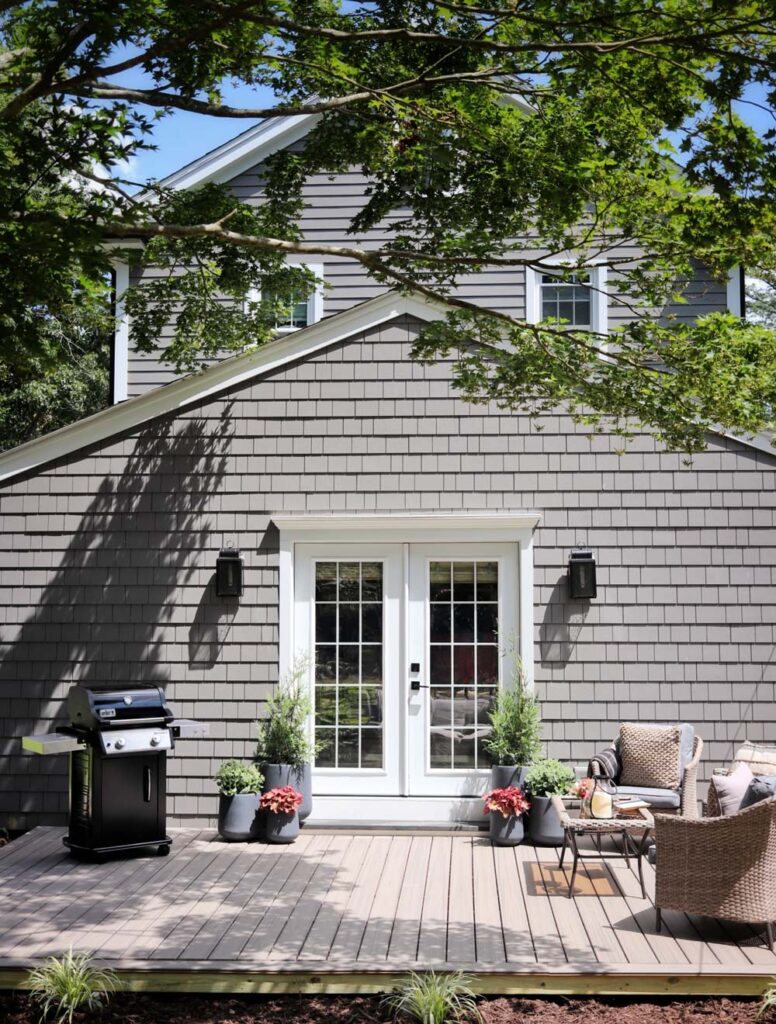
Step further enhances the deck’s structural integrity.
Trex hideaway fasteners are designed to create a clean and smooth surface without visible screws or nails, giving the deck a polished look. These fasteners also provide the proper spacing between the deck boards, ensuring consistent gaps for expansion and drainage. For the last border board, we cut the end at a 45 degree angle and then snapped a chalk line to mark where to cut the edges off of the inner boards.We used an extra Trex board as a guard for the circular saw and then using a circular saw, we cut the excess off of the inner boards leaving space for the final mitered trim board
Warm Lighting and Fall Decor
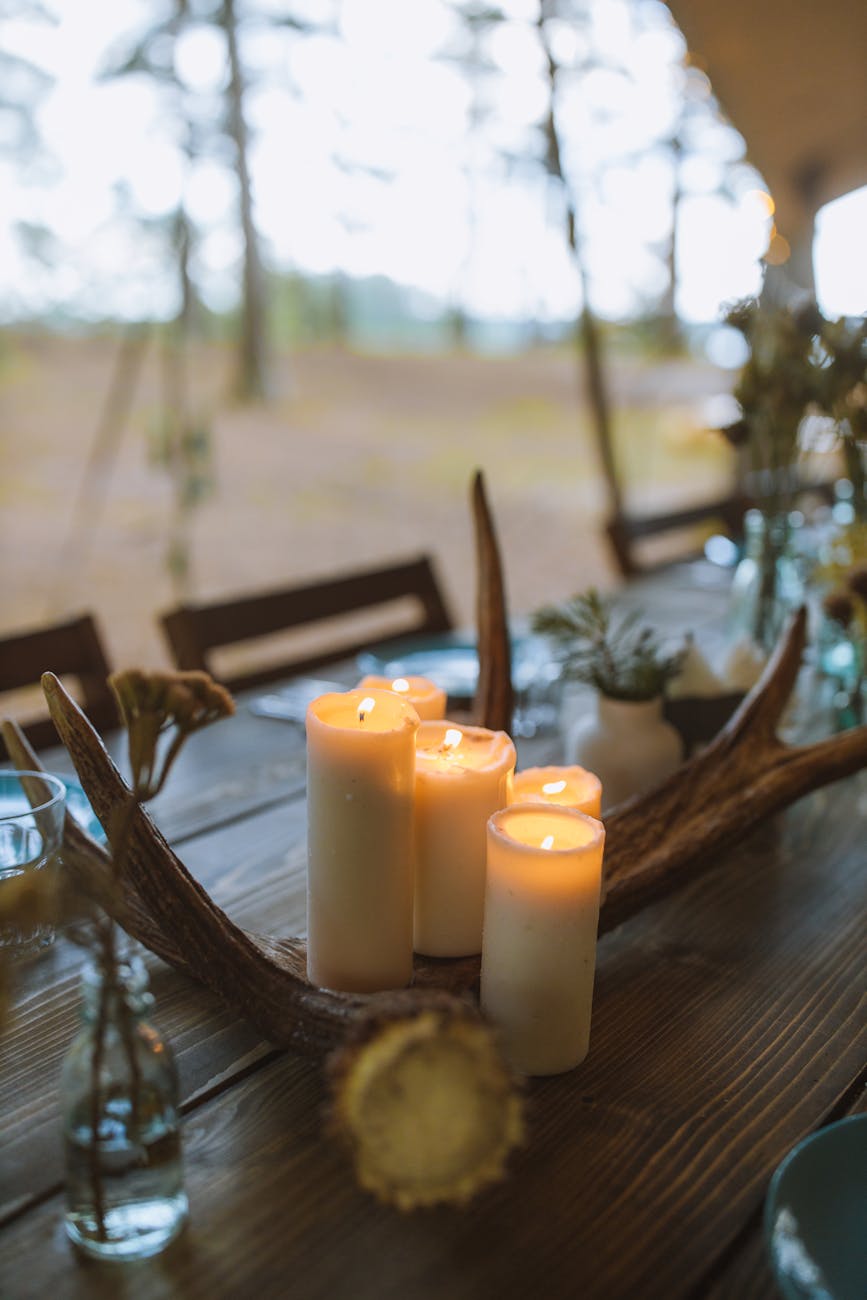
As the sun sets earlier in the fall, warm lighting becomes essential for setting the mood. We hung our Tiki Bitefighter string lights back up, to create a magical atmosphere. I also added some autumn-inspired plants and colorful foliage to infuse the space with seasonal charm.
Creating a Cozy Seating Area
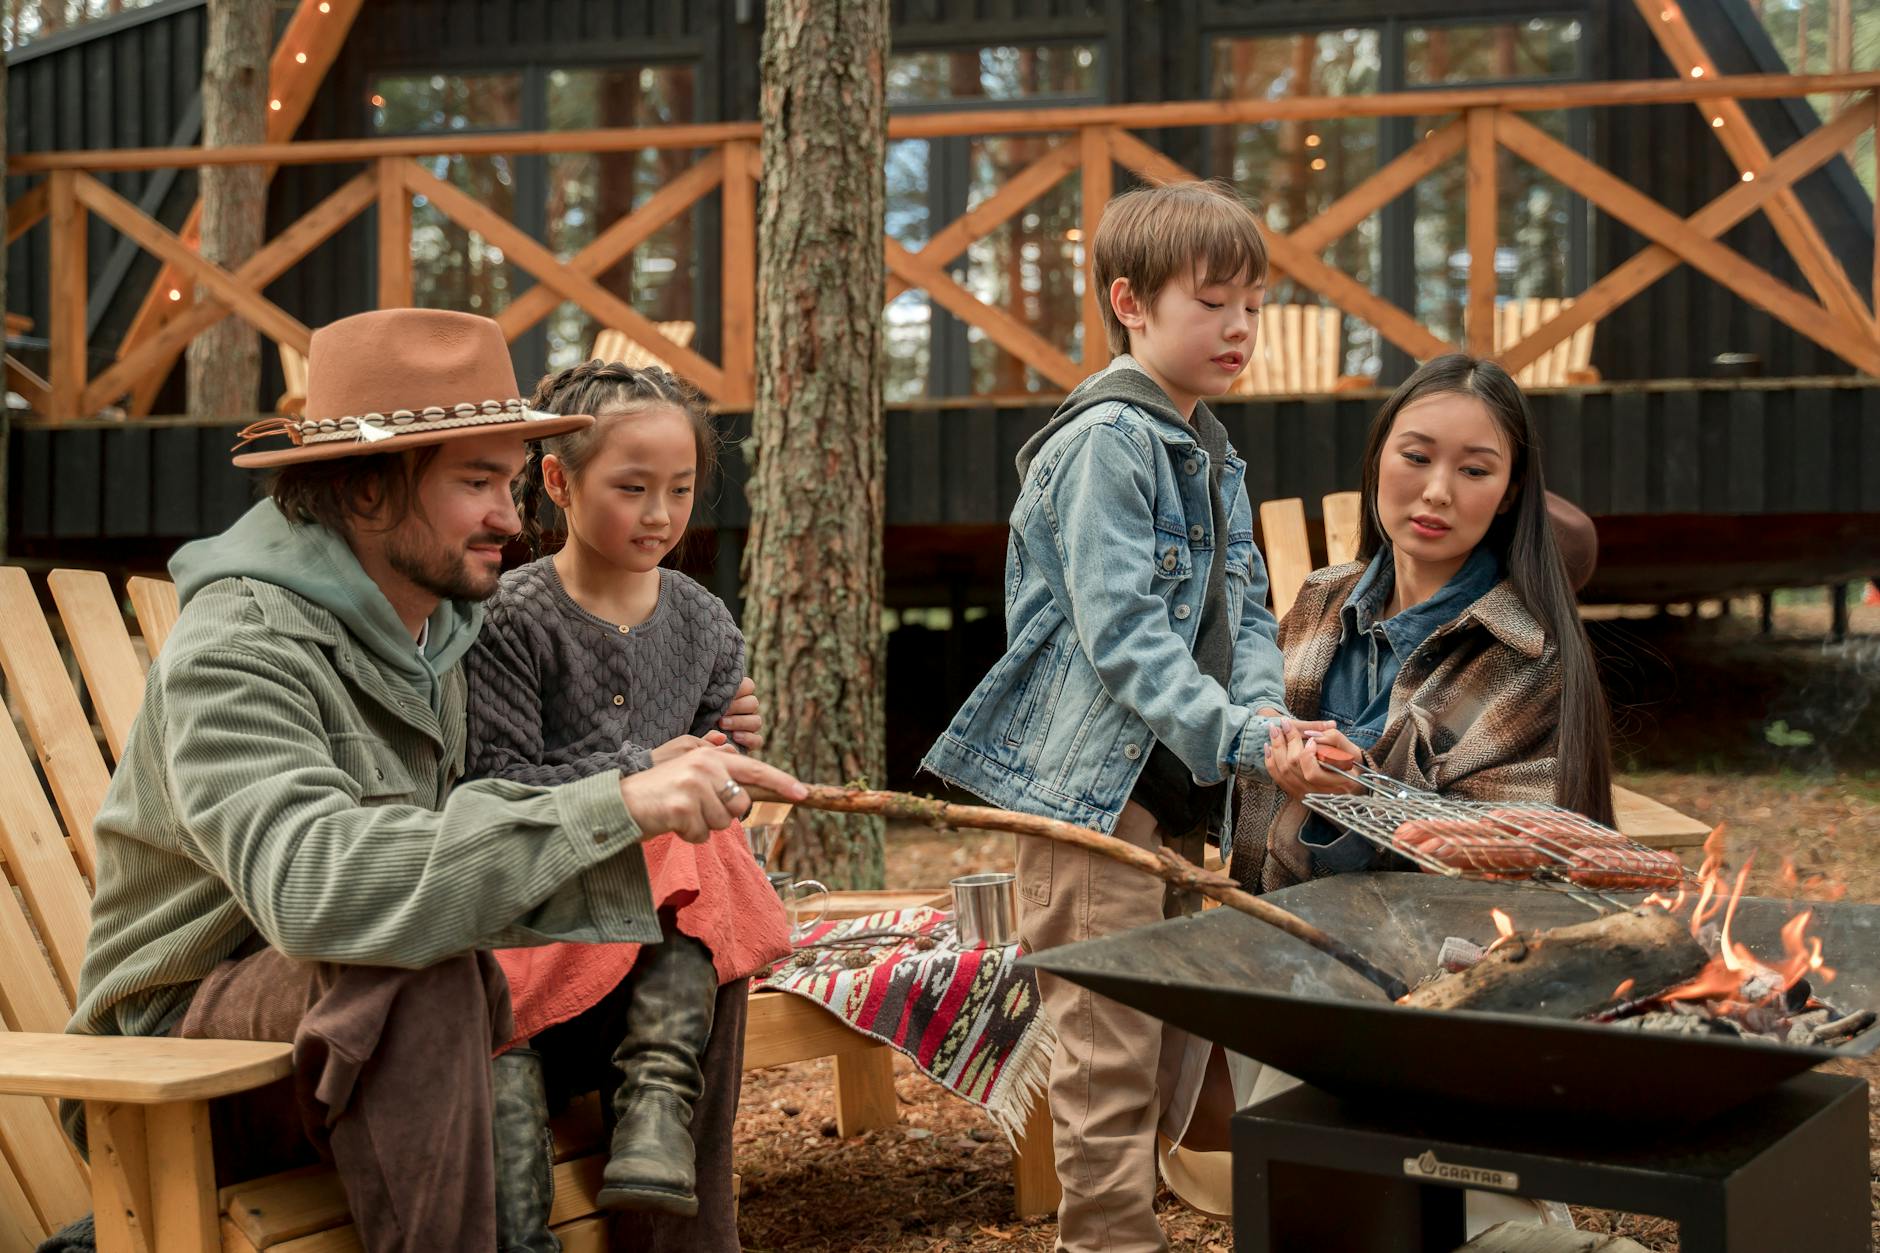
With the deck complete, it was time to set the stage for a fall BBQ. We arranged this Kendall patio set to create a cozy area where guests can relax and enjoy the ambiance. Fall, to me, always means texture, so I incorporated some textured pillows and a nubby plaid fall blanket to warm up with on cool
Tabletop S’mores
- 12 inch Medium Terra Cotta Clay Dish Garden Planter
- 16.25 inch Large Terra Cotta Clay Saucer
- Gravel or Lava Stone
- Foil
- Hershey’s Roasting Logs or S’mores Heat Fuel Cans
- Skewers
- Your Favorite Marshmallows, Chocolate and Graham Crackers
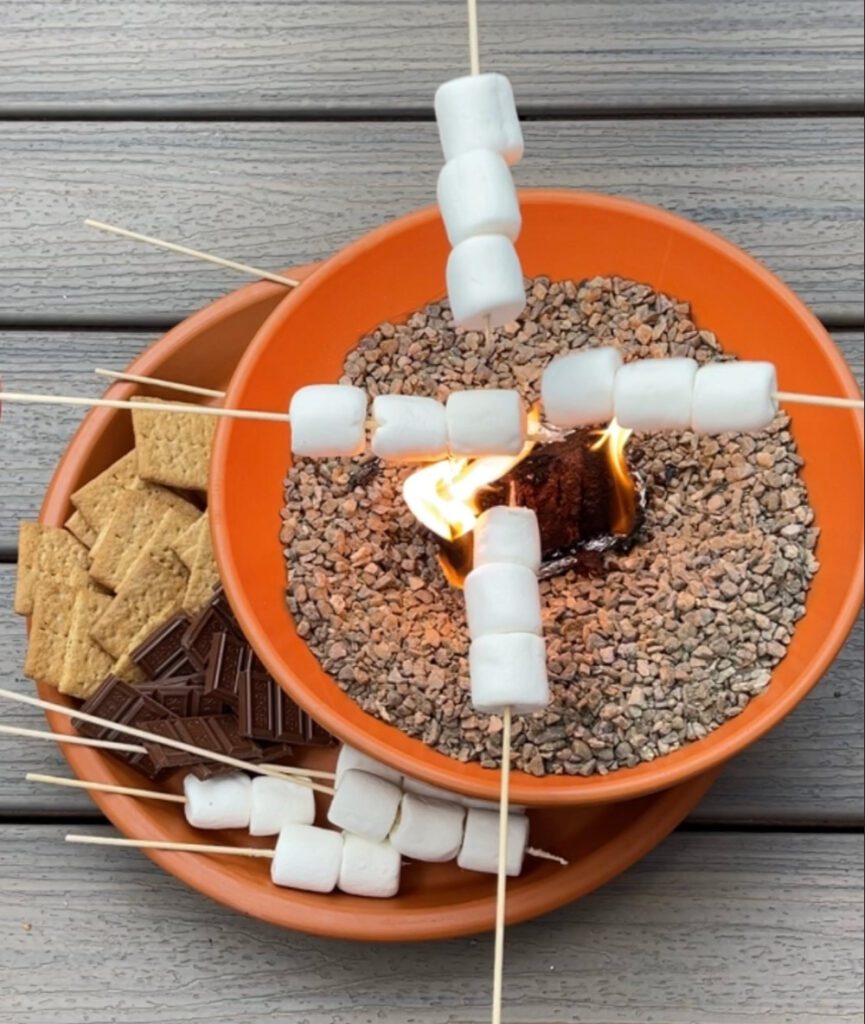
Chilly evenings are perfect for a fire pit, however we have one in another area of the yard. With the deck being our yard’s newest gathering spot, I thought it would be great to add a tabletop fire bowl where guests can gather around the warmth and toast marshmallows.
I grabbed this large terracotta dish planter and clay saucer. I laid some foil in the bottom to cover the drainage hole and then poured in some gravel. I used firelogs this time, so I rolled up a long piece of foil to serve as a grate. I broke the firelog in half and placed it on top of the “grate”. Next I placed the dish on top of the terracotta saucer and filled the saucer with our favorite s’mores goodies. Then we lit the log and gathered around the warmth of our firebowl. Easy, quick and convenient autumn fun!
As the sun sets earlier in the fall, warm lighting becomes essential for setting the mood. We hung our Tiki Bitefighter string lights back up, to create a magical atmosphere. I also added some autumn-inspired plants and colorful foliage to infuse the space with seasonal charm.

Plan Your Menu
Finally, we set up our new Weber Spirit grill to grill up some of our family favorites.
With the DIY platform deck ready and the backyard transformed into an inviting oasis, we’re able to enjoy the crisp air, the sound of laughter and the joy of making cherished memories together. Happy fall BBQ season!
This DYI guide was created in partnership with South Pointe insurance Agency. The author may have received compensation for this article and associated images or video, potentially in the form of products and/or services. All expressed opinions and experiences are the author’s own words.


